Thank you for choosing our vinyl peel and stick self-adhesive backsplash wall tiles to personalize your space. This step-by-step installation guide will help you achieve a seamless and stunning result. Please follow these instructions carefully.
Materials You Will Need
Backsplash Wall Tiles
Squeegee or a flat, flexible tool (Optional)
Painter’s tape
Level
Clean, dry cloth
Scissors (if trimming is required)
Step stool or ladder (if necessary)
Installation Steps
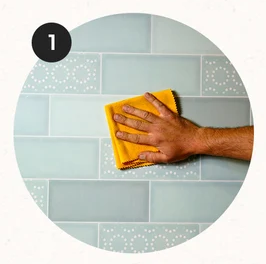
Prepare Your Wall
Ensure that the wall is clean, dry, and free from dust and debris.
If you have just cleaned the wall, please wait till it is dry before starting.
Understand the space and decide on the location of trimmed backsplash decals before you start.
Flatten the Decal
If needed, place heavy books or flat objects on the decal for a short time to help it lay flat.
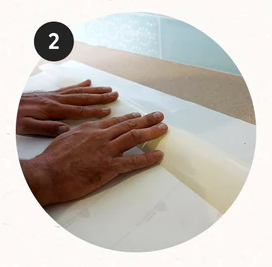
Peel Off Backing
Peel back about 2 inches of the backing layer and fold. Be cautious not to stretch or damage the decal during this process.
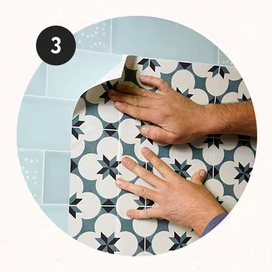
Apply to Wall
Stick the panel / tile at the starting point of your installation.
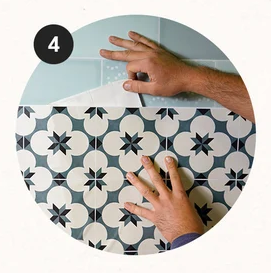
Start peeling the remaining backing while smoothing with a dry cloth.
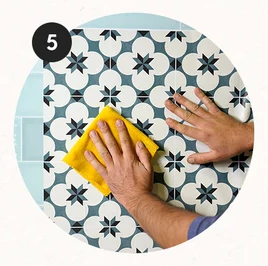
Smooth and Secure
Go over the entire decal with the squeegee to ensure a smooth and secure adhesion.
Smoothen from middle outwards, ensure there are no air bubbles.
Trim (If Necessary)
If your decal extends beyond the desired area, carefully trim any excess with scissors. Be careful and precise while using the scissors.
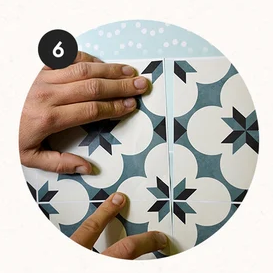
Add the next tile
Stick the next tile / panel with no overlap. Repeat the process.
Maintenance and Care
Use a clean, slightly damp cloth to wipe the decal as needed.
Do not use harsh cleaning agents on the decal, as they may damage the surface.
If you wish to reposition or remove the decal, do so gently to avoid damage to your wall.
Congratulations! You’ve successfully installed your backsplash decals.
If you have any questions or encounter any issues, please don’t hesitate to contact us through the website or through our support team. We’re here to assist you.
Enjoy!
Make sure that the surface is clean from dirt, grease or moisture.
Peel back about 2 inches of the backing layer and fold.
Stick the panel / tile at the starting point of your installation.
Start peeling the remaining backing while smoothing with a dry cloth.
Smoothen from middle outwards, ensure there are no air bubbles.
Stick the next tile / panel with no overlap. Repeat the process.